Opsbeacon
Webhook
Webhooks bring together commands, connections, and workflows within OpsBeacon. The webhook trigger generates a unique URL, enabling you to execute operations by sending POST requests to this API endpoint. To ensure successful utilization, it's important to follow the provided instructions for constructing the correct request body.
Setting up a Webhook Trigger
To set up a Webhook in OpsBeacon, follow these steps:
- Navigate to the Webhook page from the “Triggers” menu.
- Create a Webhook.
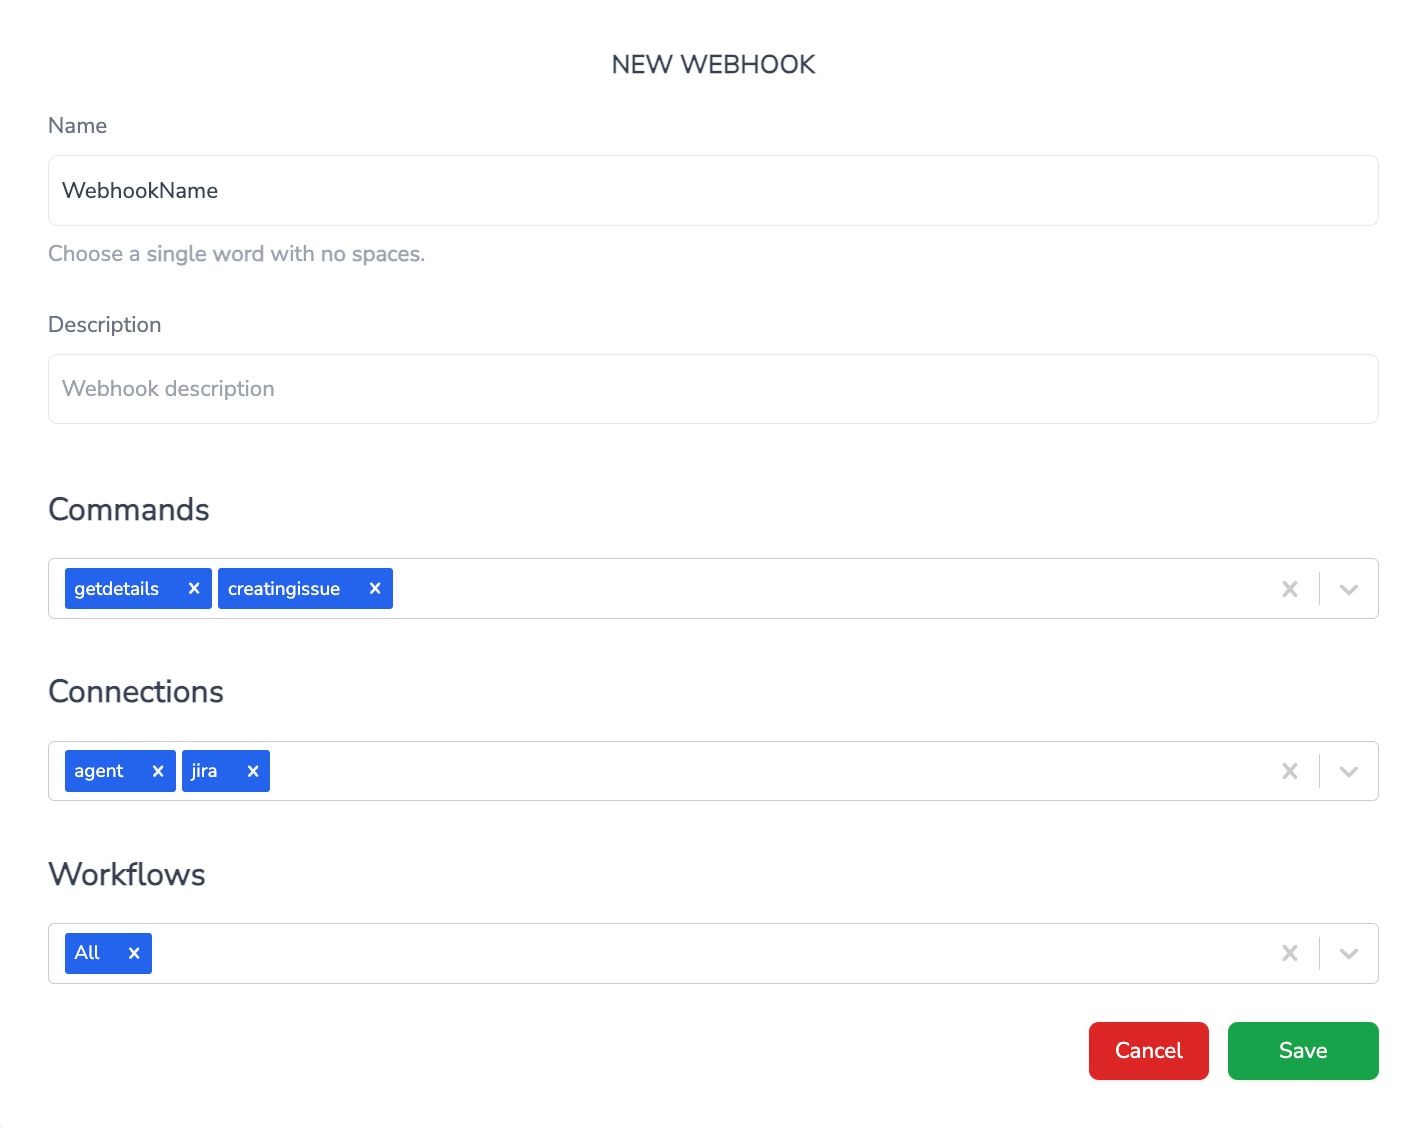
- Give your Webhook a name and assign Commands, Connections and Workflows that that will be triggered when the Webhook is invoked.
- Save the Webhook to generate a unique URL.
Using the webhook URL
After setting up the Webhook, you will be provided with a unique URL. This URL serves as the endpoint that can be used to trigger the associated operations.
To use the webhook URL:
- Copy the generated URL from the webhook settings page.
- Use this URL to send HTTP requests and trigger the corresponding executions as instructed in the request body instructions on the page.
{
  "connection": "<connectioname>",
  "command": "<commandname>",
  "argument": "<arguments>"
}